Terminal Integrations
Connect your terminal accounts to Dockflow to receive real-time container status updates, automated data synchronization, and eliminate manual data entry.
Overview
The Terminal Integrations feature (also called "Data Sources") allows logistics coordinators and operations managers to connect their existing terminal accounts to Dockflow. Once connected, Dockflow automatically pulls container events, status updates, and tracking information directly from the terminals.
Why Connect Your Terminals?
- Real-time updates - Get container status changes as they happen
- Automated data sync - No more manual data entry or CSV imports
- Faster terminal data - Direct terminal connections bypass carrier data delays
- Comprehensive tracking - Access terminal-specific information not available through carriers
Who Should Use This Feature?
- Logistics coordinators managing containers at Antwerp or Rotterdam terminals
- Operations managers needing real-time container visibility
- Companies with existing terminal accounts (PSA, DP World, MPET, T-Mining, ECT, NxtPort)
Supported Terminals
Dockflow supports six major terminal integrations across Belgium and the Netherlands:
Belgium - Antwerp
| Terminal | Authentication Type | Description |
|---|---|---|
| PSA E-Portal | Username/Password | Terminal events for PSA (869, 913) |
| DP World E-Portal | Username/Password | Terminal events for DP World (1700) |
| MPET Connect | UUID/Token | Terminal events for MPET (1742) |
| T-Mining SRC | Username/Password | Secure container release |
Netherlands - Rotterdam
| Terminal | Authentication Type | Description |
|---|---|---|
| ECT MyTerminal | OAuth (Client Credentials) | Requires paid subscription + extended permissions option |
Additional Integrations
| Terminal | Authentication Type | Description |
|---|---|---|
| NxtPort CPU | OAuth (Password Grant) + API Key | Certified Pick Up (Antwerp) |
Prerequisites
Before connecting your terminals, ensure you have:
- Active Dockflow Console account with appropriate permissions
- Terminal account credentials for at least one supported terminal
- API access enabled at the terminal (some terminals require contacting support to activate API access)
- IP whitelisting completed (if required by your terminal)
Note: Terminal credentials are entity-level, not user-level. One connection per terminal per company/entity.
Getting Started
Accessing Terminal Integrations
- Log in to the Dockflow Management Console at console.dockflow.com
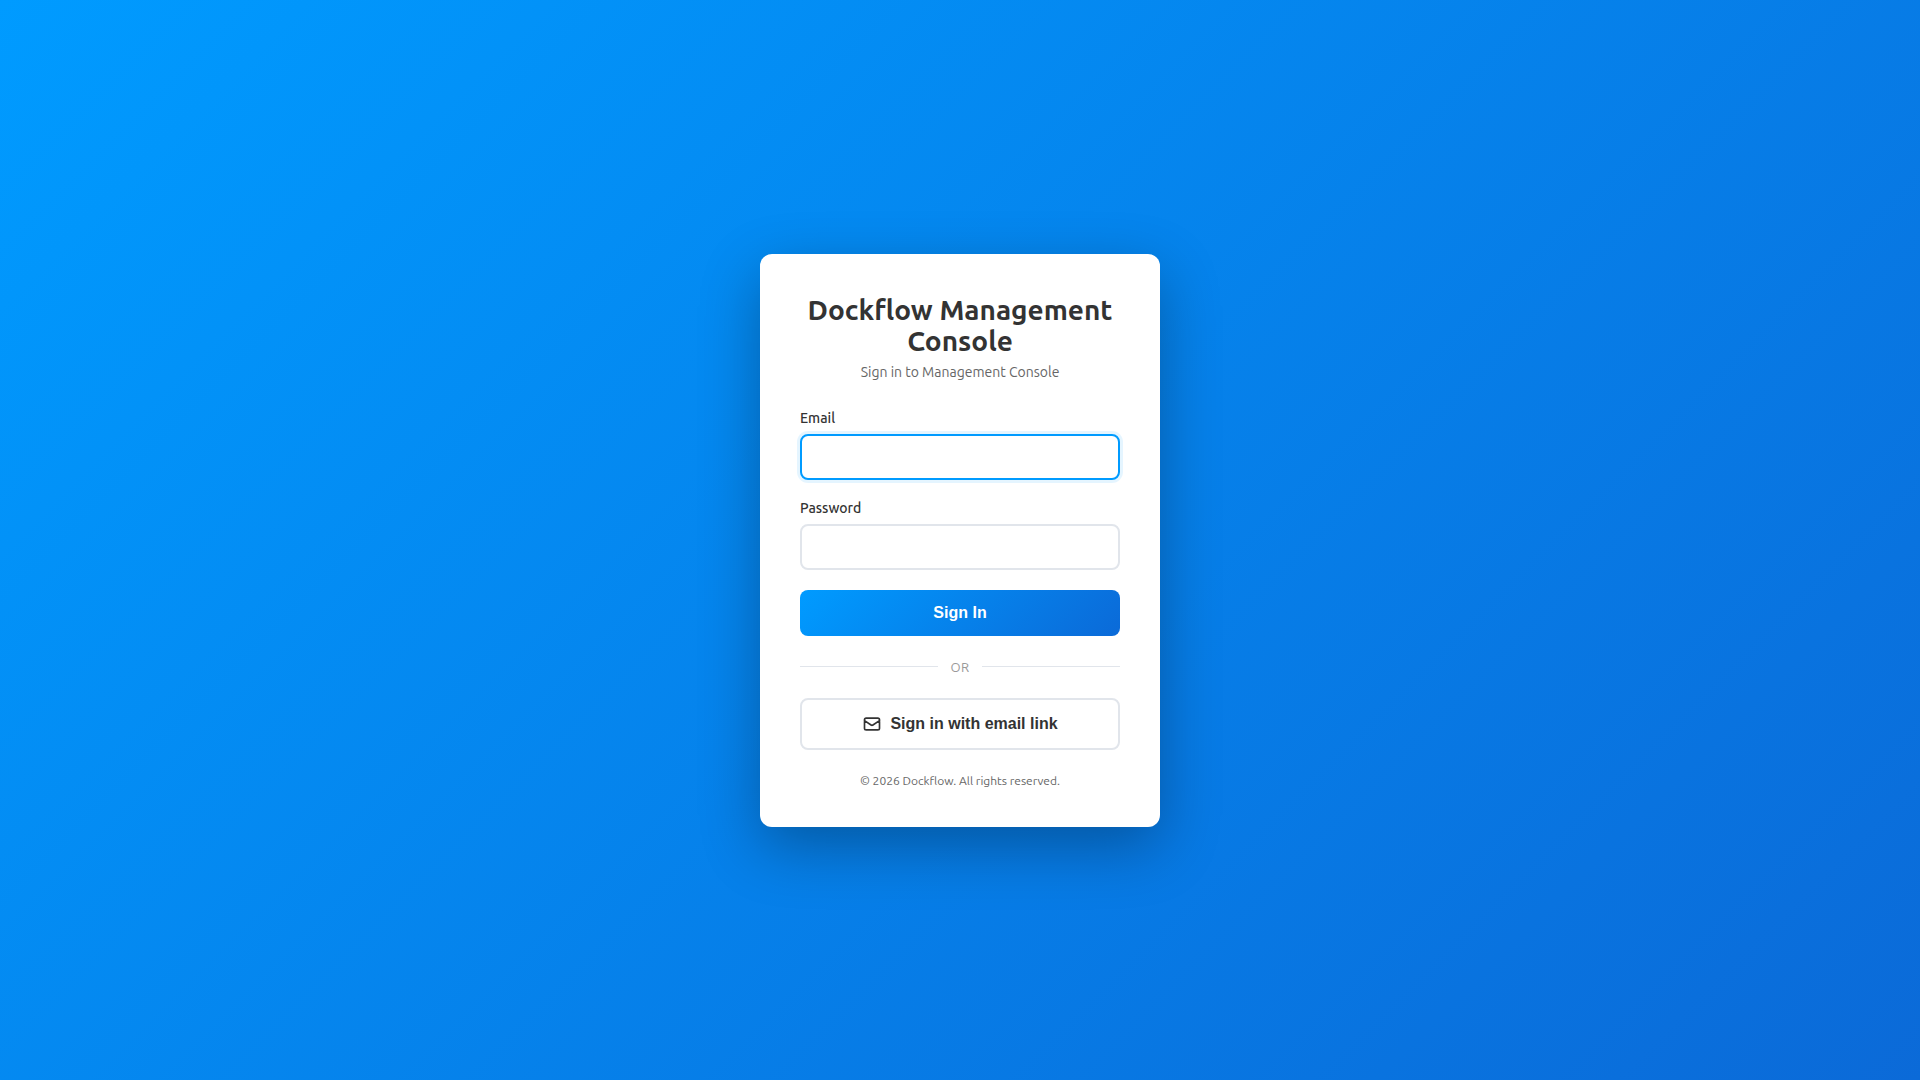 Figure 1: Dockflow Management Console login page
- After logging in, you'll see the Console dashboard
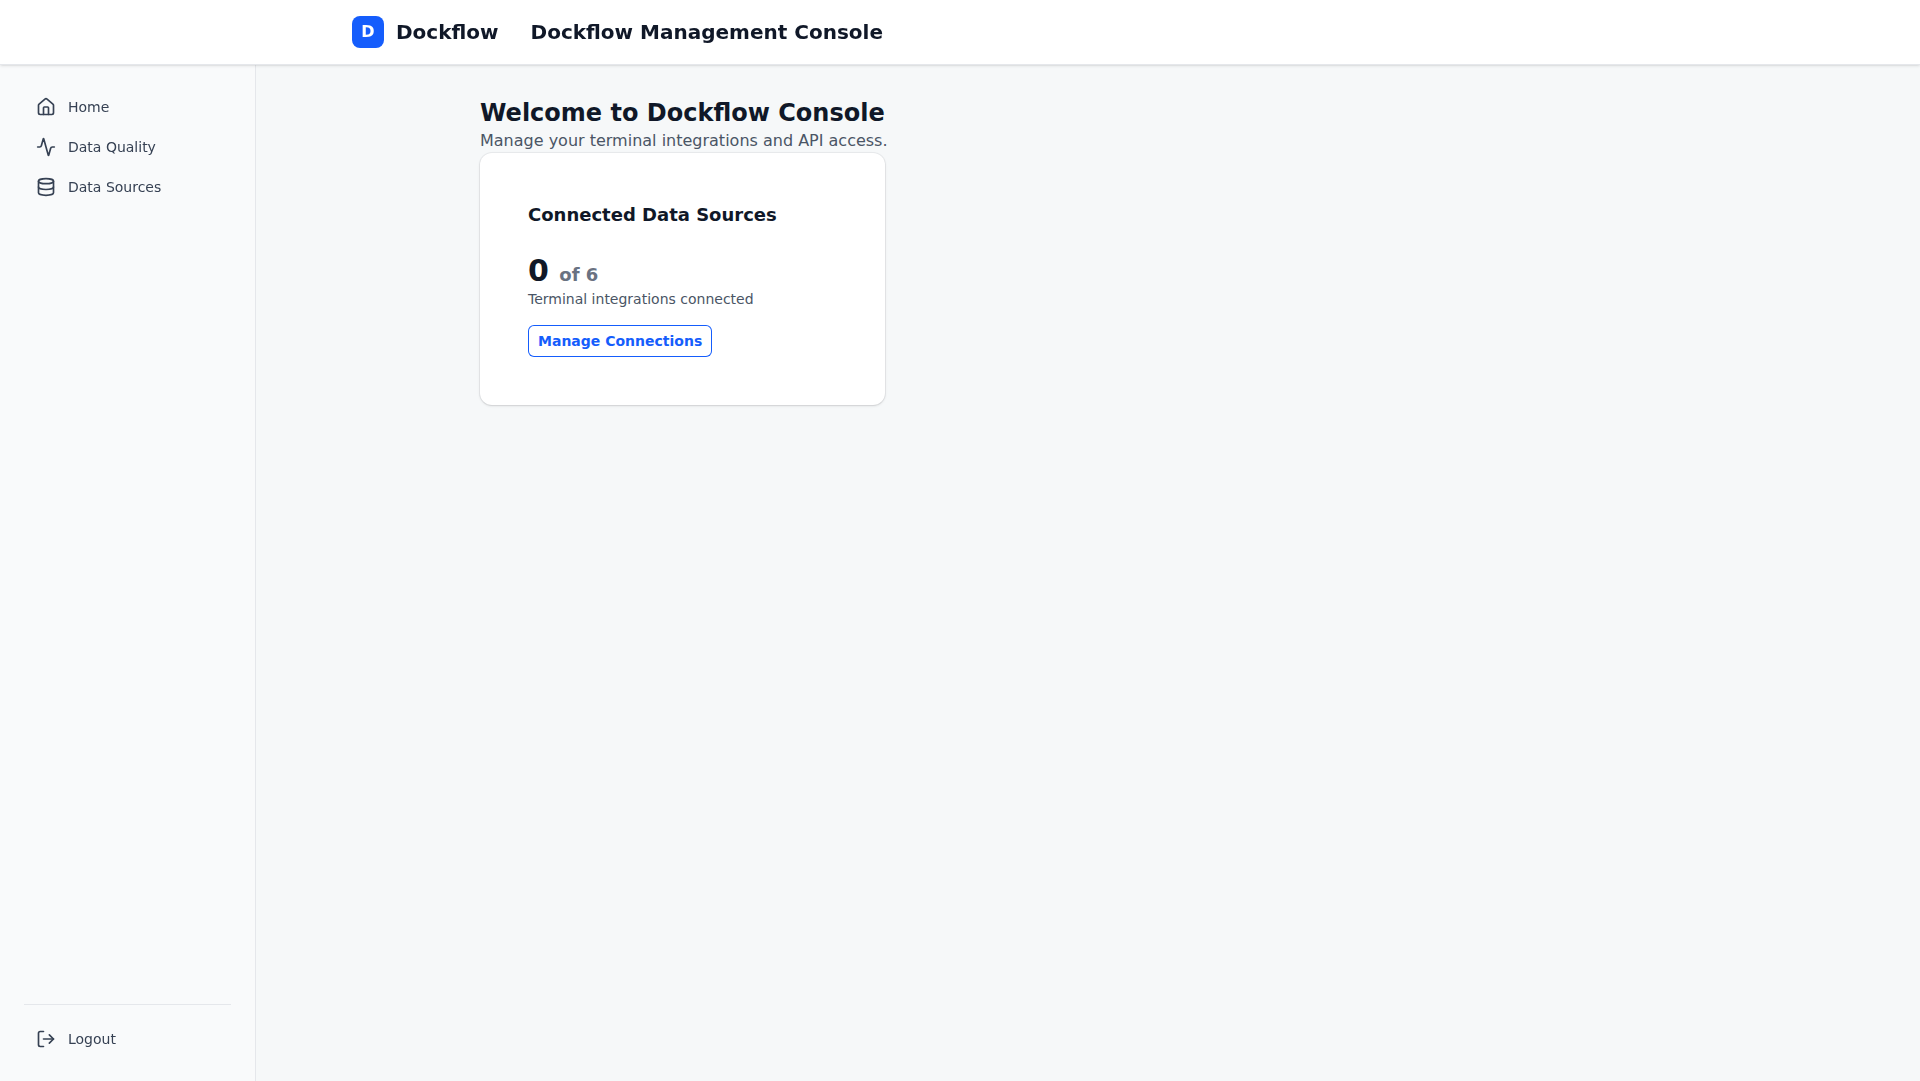 Figure 2: Console dashboard with navigation
- In the sidebar, click Data Sources to access Terminal Integrations
 Figure 3: Sidebar showing Home, Data Quality, and Data Sources
- The Terminal Integrations page displays all available terminals organized by region
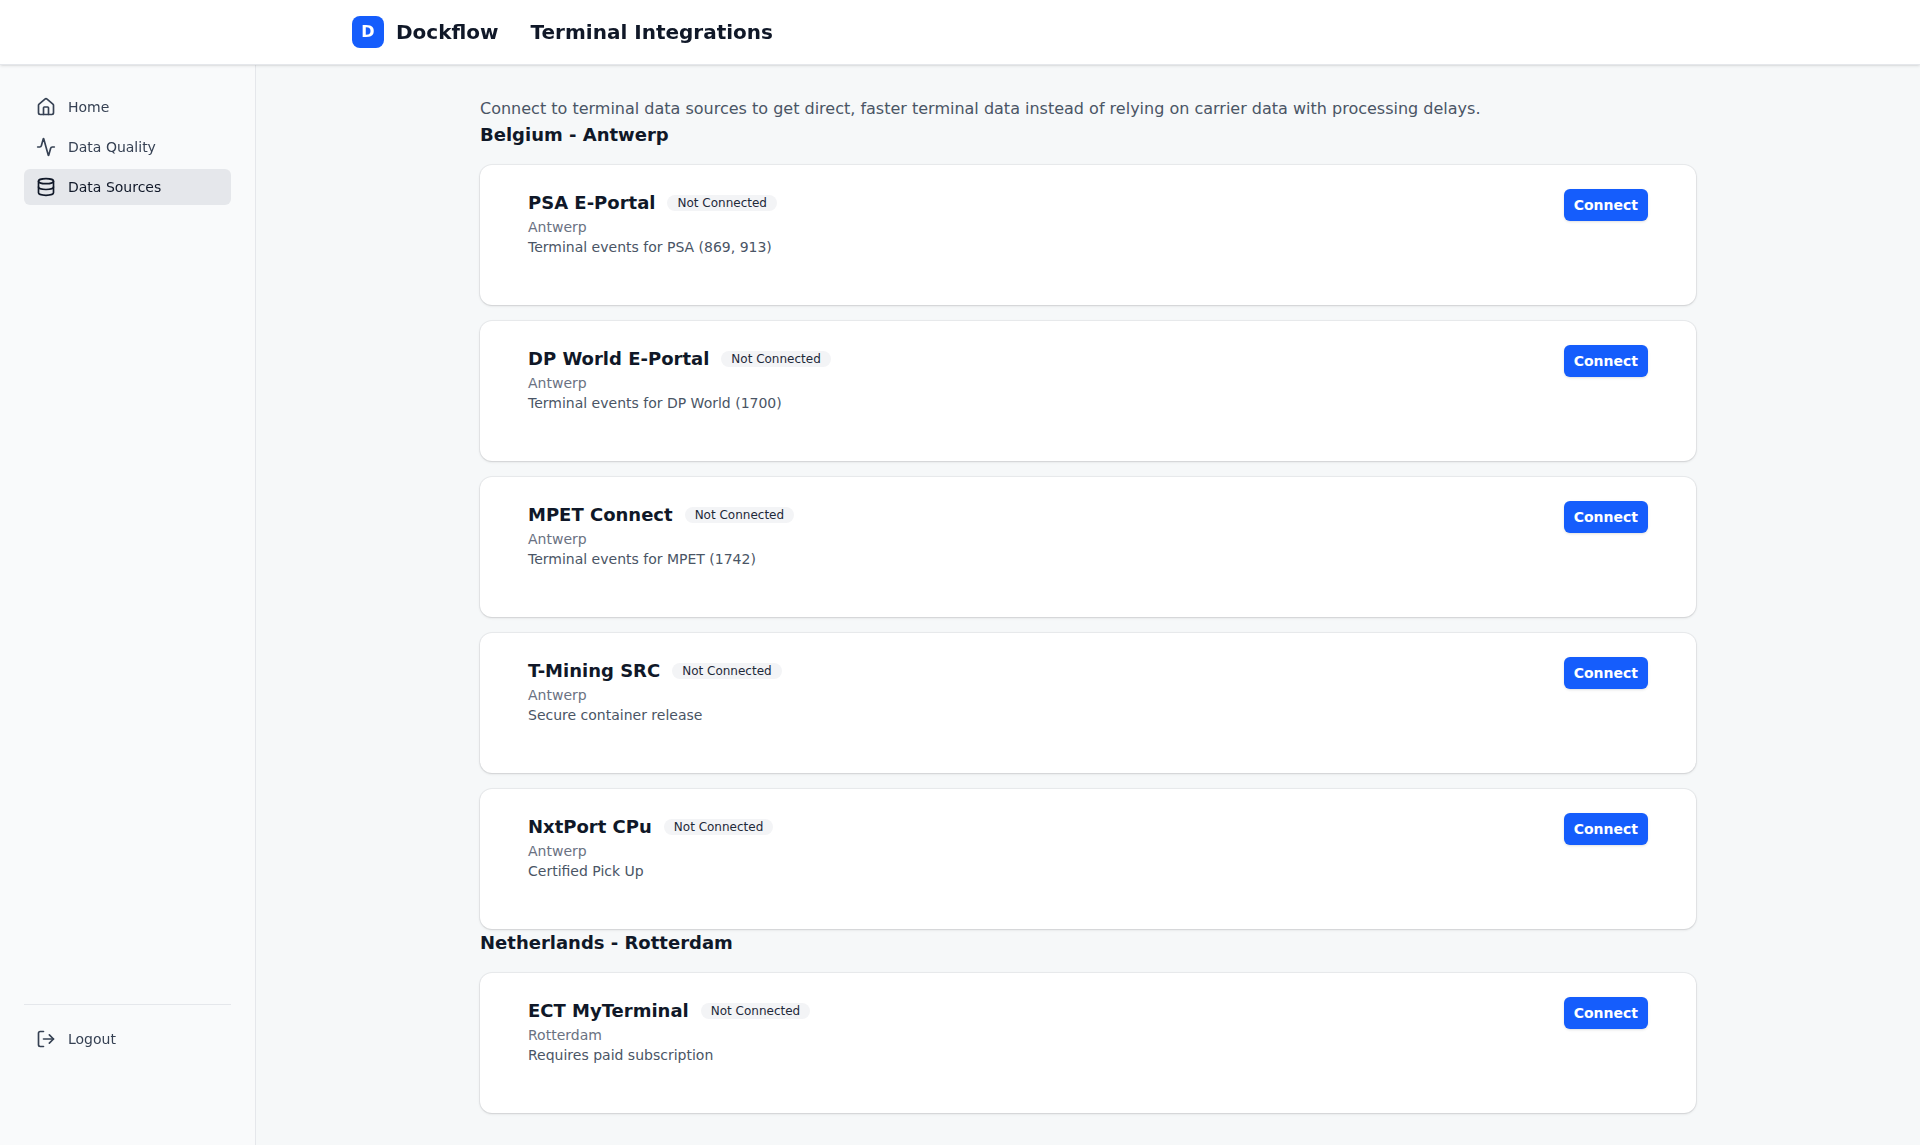 Figure 4: Terminal Integrations page showing Antwerp and Rotterdam terminals
Connecting a Terminal
Each terminal requires different authentication credentials. Follow the steps below based on your terminal type.
Connecting with Username/Password
Supported Terminals: PSA E-Portal, DP World E-Portal, T-Mining SRC
Example: PSA E-Portal
- Locate the PSA E-Portal card in the "Belgium - Antwerp" section
- Click the blue Connect button on the terminal card
- A connection modal will appear
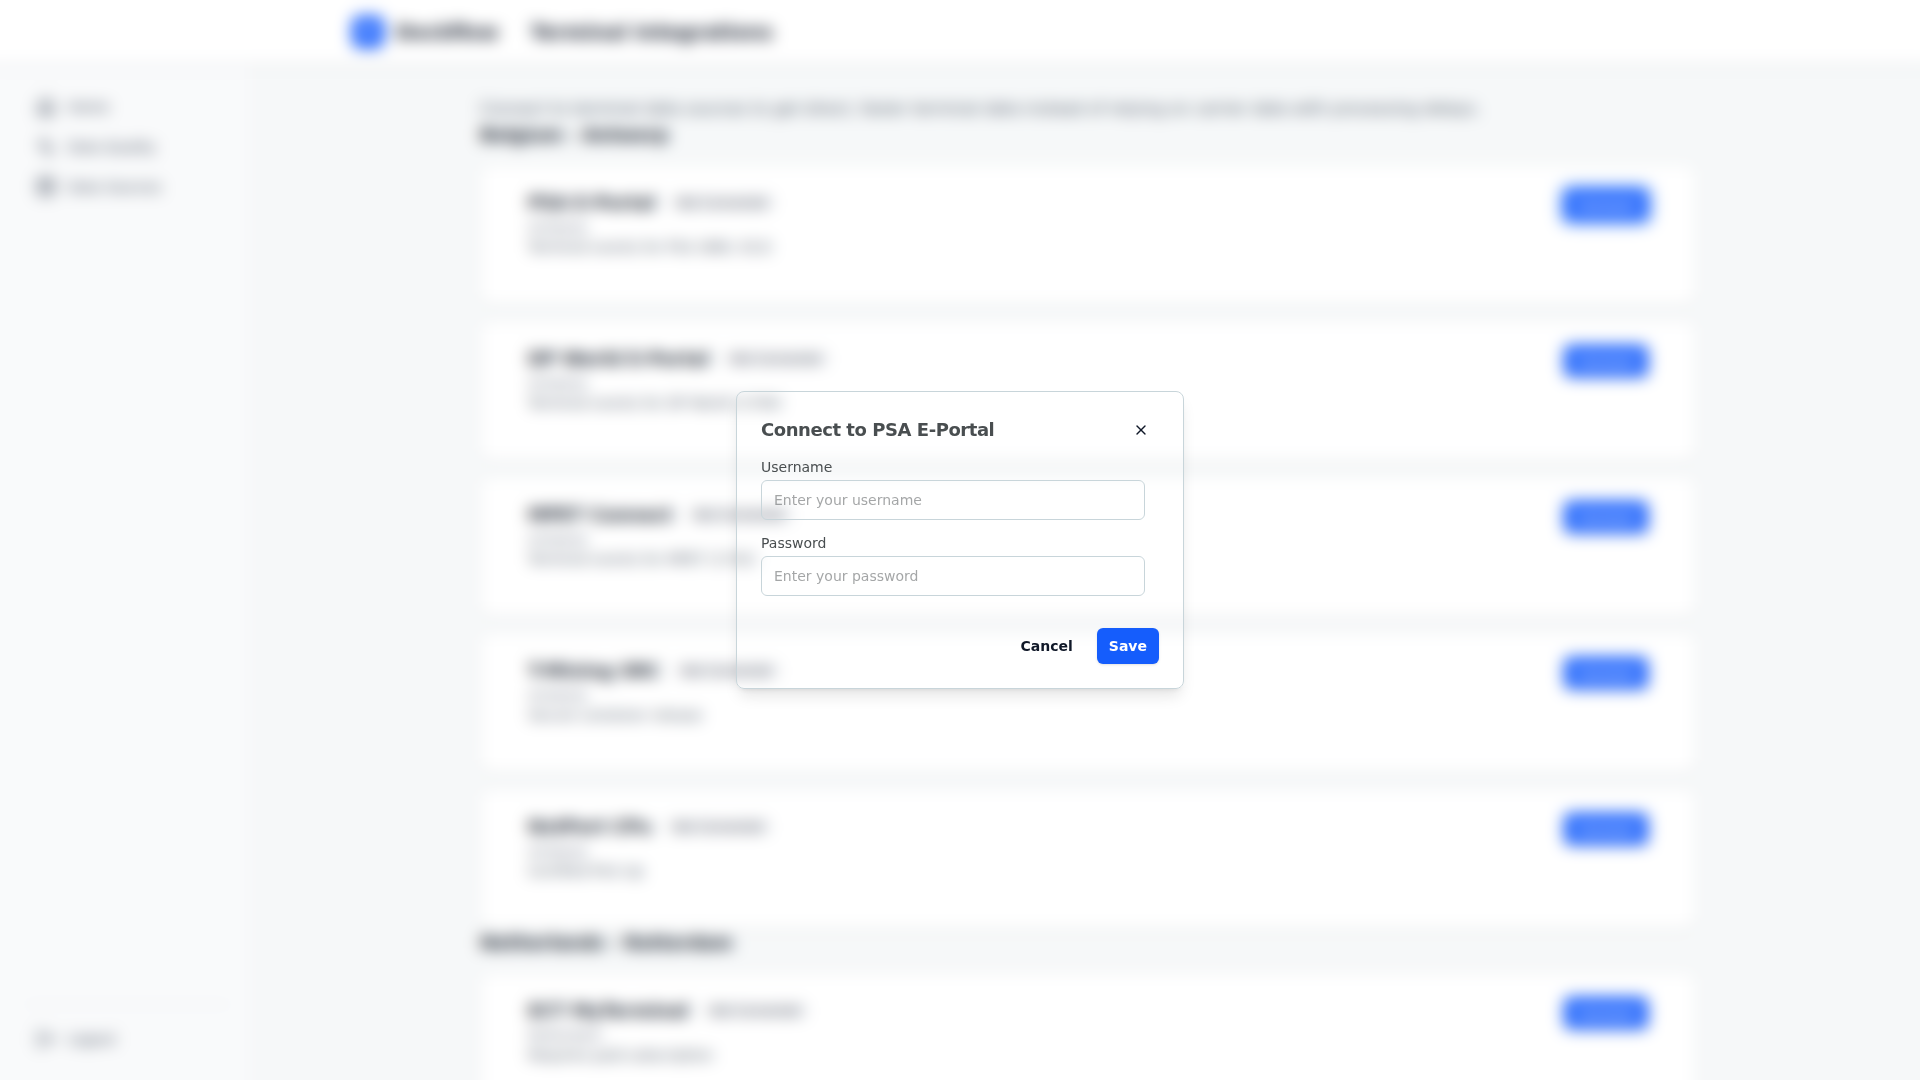 Figure 5: PSA E-Portal connection modal with username and password fields
-
Enter your PSA E-Portal credentials:
- Username: Your PSA portal username
- Password: Your PSA portal password
-
Click Save to save the credentials
-
The terminal card will update to show "Connected" status with your username displayed
Same process applies to:
- DP World E-Portal (username/password)
- T-Mining SRC (username/password)
Connecting with UUID/Token
Supported Terminals: MPET Connect
Steps:
-
Obtain your Application UUID and API Token from MPET
- Log in to MPET Connect portal
- Navigate to API settings
- Generate or copy your UUID and token
-
Locate the MPET Connect card in the Dockflow Terminal Integrations page
-
Click the blue Connect button
-
The connection modal will display two fields:
- Application UUID: Enter your MPET application UUID
- API Token: Enter your MPET API token
-
Click Save to save the credentials
-
The terminal card will update to show "Connected" status with your UUID displayed
 Figure 6: MPET Connect terminal card
Connecting with OAuth (Client Credentials)
Supported Terminals: ECT MyTerminal
Prerequisites:
- Active ECT MyTerminal subscription (paid service)
- OAuth Client ID and Client Secret from ECT
- Subscription Key from ECT
Steps:
-
Contact ECT support to:
- Activate API access for your account
- Obtain OAuth Client ID and Client Secret
- Get your Subscription Key
- Request extended permissions (if needed for full data access)
-
Locate the ECT MyTerminal card in the "Netherlands - Rotterdam" section
-
Click the blue Connect button
-
The connection modal will display:
- Client ID: Enter your OAuth client ID from ECT
- Client Secret: Enter your OAuth client secret from ECT
- Subscription Key: Enter your ECT subscription key
- Extended Permissions (checkbox): Check this box if ECT has approved extended API access for your account
-
Click Save to save the credentials
-
The terminal card will update to show "Connected" status with your client ID displayed
 Figure 7: ECT MyTerminal terminal card
Important: Extended permissions provide access to additional container data. If you check this box without ECT approval, data synchronization may be limited.
Connecting with OAuth (Password Grant) + API Key
Supported Terminals: NxtPort CPU
Prerequisites:
- Active NxtPort account
- OAuth credentials (Client ID, Client Secret)
- NxtPort API Key
Steps:
-
Contact NxtPort support to activate API access and obtain:
- OAuth Client ID
- OAuth Client Secret
- API Key
-
Locate the NxtPort CPU card in the Terminal Integrations page
-
Click the blue Connect button
-
The connection modal will display:
- Client ID: Enter your NxtPort OAuth client ID
- Client Secret: Enter your NxtPort OAuth client secret
- API Key: Enter your NxtPort API key
-
Click Save to save the credentials
-
The terminal card will update to show "Connected" status
 Figure 8: NxtPort CPU terminal card
Managing Connected Terminals
Viewing Connection Status
The Terminal Integrations page shows the connection status for all terminals:
- Connected - Terminal is actively syncing data (shows connected identifier: username, UUID, or client ID)
- Not Connected - Terminal credentials have not been entered
Figure 9: Terminal cards showing connection status badges
Each connected terminal displays:
- Terminal name and location
- Connection status badge
- Connected identifier (e.g., username, UUID, client ID)
- Description of the terminal service
- Connect or Disconnect button
Updating Terminal Credentials
If your terminal credentials change (e.g., password reset, new API token), you can update them without disconnecting:
Steps:
-
Locate the terminal card with outdated credentials
-
Click the Connect button (same button as initial connection)
-
The connection modal will appear (may show existing identifier)
-
Enter the updated credentials:
- For username/password: Enter new password (username may be pre-filled)
- For UUID/token: Enter new token
- For OAuth: Enter new client ID/secret
-
Click Save
-
The connection automatically updates with the new credentials
Note: Updating credentials does not affect historical data or interrupt ongoing synchronization.
Disconnecting a Terminal
If you want to stop data synchronization from a terminal:
Steps:
-
Locate the connected terminal card
-
Click the Disconnect button
-
A confirmation modal will appear asking "Are you sure you want to disconnect this terminal?"
-
Click Confirm to disconnect
-
The terminal card returns to "Not Connected" status
Important:
- Disconnecting a terminal stops future data synchronization
- Historical data remains in Dockflow and is not deleted
- You can reconnect at any time by clicking Connect again
Entity-Level Credentials
Terminal credentials in Dockflow are entity-level, not user-level. This means:
- ✅ Credentials are shared across your entire company/entity
- ✅ All users in your entity see the same connection status
- ✅ Only one connection per terminal per entity
- ✅ Users with appropriate permissions can modify credentials
- ✅ Support team can help manage credentials when impersonating your entity
Why entity-level?
- Avoids duplicate terminal connections
- Ensures all team members benefit from terminal integrations
- Simplifies credential management
- Aligns with how terminals grant API access (per company, not per user)
Security & Privacy
Dockflow takes terminal credential security seriously:
- Encrypted at rest - All credentials are encrypted in the database
- Write-only secrets - Passwords/secrets are never displayed after saving
- Secure transmission - Credentials are transmitted over HTTPS only
- Access control - Only authorized users can view/modify connections
- Audit logging - All credential operations are logged for compliance
What Dockflow stores:
- Terminal username (visible)
- Terminal password (encrypted, never displayed)
- OAuth client credentials (encrypted, never displayed)
- API tokens/keys (encrypted, never displayed)
- Connection timestamps
What Dockflow does NOT store:
- Your terminal portal login sessions
- Unencrypted passwords or secrets
- Payment information for terminal subscriptions
Troubleshooting
Terminal Not Connecting
Problem: Credentials saved successfully, but connection status still shows "Not Connected"
Possible Causes:
- Incorrect username/password
- Terminal account not yet activated for API access
- IP address not whitelisted by terminal
- Terminal API temporarily unavailable
Solutions:
-
Verify credentials:
- Log in to the terminal's website directly using the same credentials
- Ensure username and password are correct (no extra spaces, correct case)
-
Check API activation:
- Contact terminal support to verify API access is enabled for your account
- Some terminals require manual approval before API access works
-
IP whitelisting:
- Ask terminal support if your IP address needs whitelisting
- Provide Dockflow's IP addresses if required
-
Wait and retry:
- Wait 10-15 minutes and refresh the page
- Some terminals have delayed activation
-
Contact support:
- If issue persists after 24 hours, contact Dockflow support with:
- Terminal name
- Your terminal username
- Screenshot of connection status
- Error message (if any)
- If issue persists after 24 hours, contact Dockflow support with:
Credentials Won't Save
Problem: "Save" button doesn't work or shows an error message
Possible Causes:
- Required fields are empty
- Network connectivity issue
- Session expired
Solutions:
-
Check required fields:
- Ensure all required fields are filled (marked with asterisk)
- Remove any extra spaces before/after credentials
-
Check network:
- Verify your internet connection is stable
- Try again in a few moments
-
Refresh session:
- Refresh the page and log in again
- Retry saving credentials
-
Try different browser:
- If issue persists, try a different browser (Chrome, Firefox, Edge)
- Clear browser cache and cookies
-
Contact support:
- If the issue continues, contact Dockflow support with the error message
Extended Permissions Not Working (ECT)
Problem: Extended permissions checkbox saved, but data access is still limited
Cause: ECT requires additional approval for extended API permissions
Solution:
-
Contact ECT terminal support:
- Email or call ECT customer support
- Request extended API permissions for your account
- Provide your ECT account details and subscription ID
-
Wait for approval:
- ECT will review your request (may take 1-3 business days)
- You'll receive confirmation when extended permissions are activated
-
Enable in Dockflow:
- Once ECT confirms approval, return to Dockflow Terminal Integrations
- Click Connect on ECT MyTerminal
- Check the Extended Permissions box
- Click Save
-
Verify access:
- Data synchronization should include extended container information
- Contact Dockflow support if extended data is still missing after 24 hours
Connection Status Outdated
Problem: Terminal shows "Connected", but data isn't updating
Cause: Background sync may be delayed, or credentials may have expired
Solutions:
-
Verify credentials:
- Check if your terminal password has expired
- Log in to the terminal's portal to verify your account is active
-
Reconnect terminal:
- Click Disconnect on the terminal card
- Wait 5 seconds
- Click Connect and re-enter credentials
- This forces a new connection and sync
-
Check system status:
- Visit Dockflow status page to check for known issues
- Terminal APIs may be temporarily down for maintenance
-
Contact support:
- If data is >24 hours outdated, contact Dockflow support with:
- Terminal name
- Last update timestamp
- Container numbers that should have updates
- If data is >24 hours outdated, contact Dockflow support with:
Invalid Credentials Error
Problem: Error message says "Invalid credentials" even though credentials are correct
Possible Causes:
- Password recently changed at terminal
- Account locked due to multiple failed login attempts
- Special characters in password not properly entered
- Terminal account not activated for API use
Solutions:
-
Reset password:
- Reset your password at the terminal's portal
- Try again with the new password in Dockflow
-
Check for account lock:
- Log in to terminal's portal to check if account is locked
- Contact terminal support to unlock account if needed
-
Special characters:
- Be careful with special characters in passwords (@, #, $, etc.)
- Copy/paste password instead of typing manually
- Ensure no extra spaces before or after password
-
Verify API activation:
- Contact terminal support to confirm API access is enabled
- Request API activation if not already active
Frequently Asked Questions
Q: Can multiple users connect to the same terminal?
A: Terminal credentials are entity-level, not user-level. This means there's one connection per terminal per company/entity. All users in your entity share the same connection and benefit from the data sync.
Q: How often does Dockflow sync data from connected terminals?
A: Data synchronization typically runs every 4-6 hours, depending on the terminal. Some terminals support near-real-time updates, while others batch updates. Check the specific terminal's documentation for exact sync frequency.
Q: What happens if my terminal credentials change?
A: Simply reconnect using the updated credentials. Click Connect on the terminal card, enter the new credentials, and click Save. The old connection will be replaced with the new one automatically.
Q: Can I connect multiple entities to the same terminal account?
A: No, each entity/company needs its own terminal account credentials. Sharing terminal credentials across multiple Dockflow entities is not supported and may violate your terminal's terms of service.
Q: Will disconnecting a terminal delete my historical data?
A: No, historical data remains in Dockflow when you disconnect a terminal. Only future synchronization stops. You can reconnect at any time to resume data sync.
Q: Which terminals require special setup or approval?
A: The following terminals require additional setup beyond basic credentials:
- ECT MyTerminal: Requires paid subscription, OAuth setup, and API approval from ECT
- NxtPort CPU: Requires OAuth setup and API key approval from NxtPort
- MPET Connect: Requires requesting UUID and API token from MPET support
Contact the terminal's customer support to request API access before connecting in Dockflow.
Q: Can I test the connection before saving credentials?
A: Currently, Dockflow saves credentials first and then verifies the connection in the background. The connection status badge will update within a few minutes after saving. If connection fails, you'll see an error message or "Not Connected" status.
Q: Do I need to reconnect after changing my Dockflow password?
A: No, Dockflow terminal connections are independent of your Dockflow account password. Changing your Dockflow password does not affect terminal connections.
Q: Can I see which user connected a terminal?
A: Terminal connections are entity-level and not tied to a specific user. However, Dockflow logs all credential operations for compliance and auditing purposes. Contact support if you need audit logs.
Q: What data does Dockflow sync from terminals?
A: Depending on the terminal, Dockflow syncs:
- Container events (arrival, departure, gate in/out, loading/unloading)
- Container status updates
- Customs clearance status
- Terminal documents (bills of lading, customs forms)
- Real-time container location within the terminal
The exact data available varies by terminal and your subscription level.
Support
For issues or questions about Terminal Integrations:
- Email: [email protected]
- In-app Help: Click the Help icon in the Console top-right corner
- Terminal-specific support: Contact your terminal's customer support for credential issues, API activation, or subscription questions
Last Updated: January 26, 2026 Version: 1.0 Maintainer: Dockflow Documentation Team
🤖 Generated with Claude Code